Cricut Cutting Machine - Step by Step Tutorial for Beginners
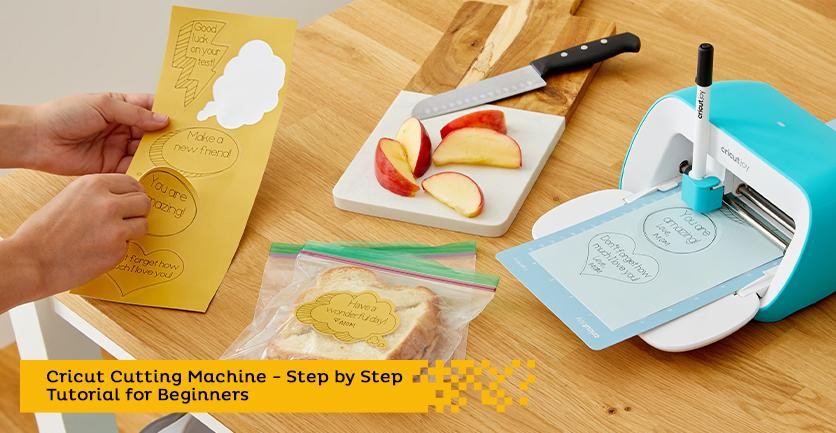
The days of painstakingly cutting intricate designs using a cutter or scissor are over – thanks to new-age tech that promises to revolutionize your crafting experience! Yes, we’re talking about Cricut machines, that have taken over the crafting world by storm! These cutting machines have got everyone from the hobbyist to professional craftsmen, raving over how nifty they are in unraveling endless possibilities. Be it creating personalized greeting cards or 3D cut stickers, Cricut cutting machines can be deployed to create projects that go as far as your imagination can take you.
But, for beginners, getting hands-on with the machine at first can be tricky – thankfully, this guide is just what you need to get started.
What Do You Need Before You Get Started?
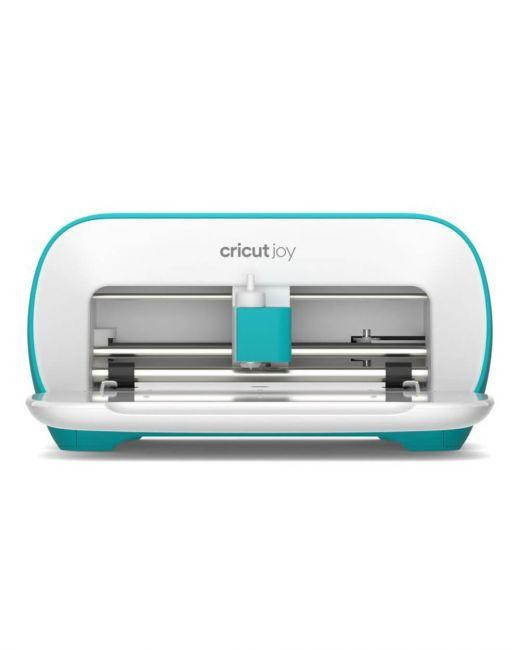
A Cricut cutting machine – there are three most popular variants to choose from, The Cricut Explore 3, the Cricut Maker 3, and the Cricut Joy. If you’re looking for a beginner-friendly, compact-sized, cost-effective option to start with, we would recommend the Cricut Joy.
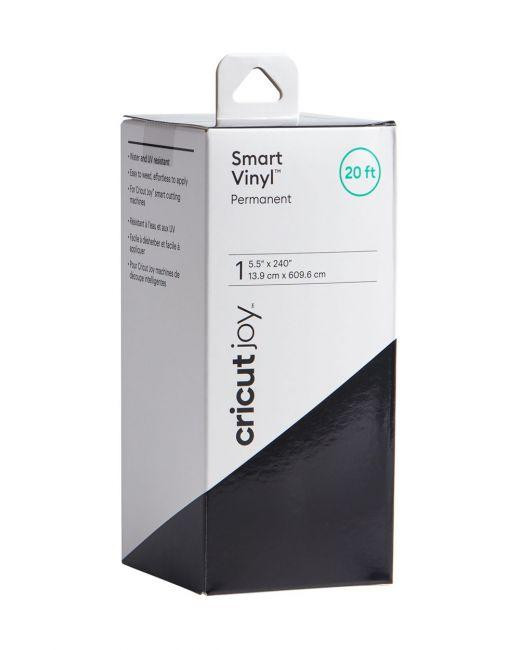
Materials – Shop for scrapbooking paper, cardstock, vellum, adhesive vinyl, iron-on vinyl, felt etc, depending on your project
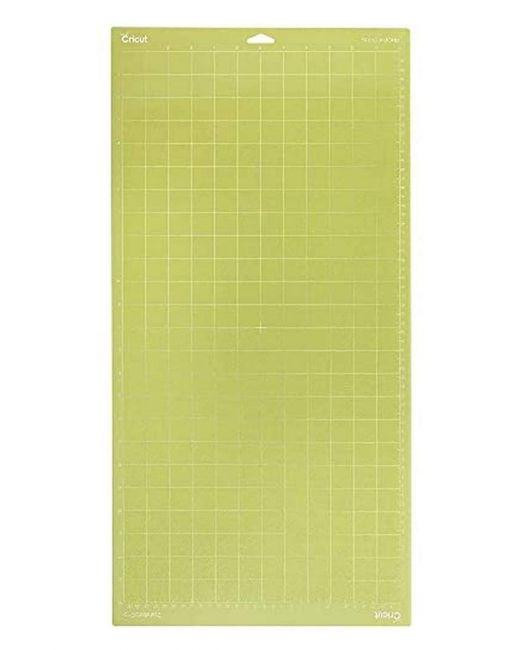
Cutting Mats – You will need a few cutting mats. These come in different strengths depending on the material you want to cut.
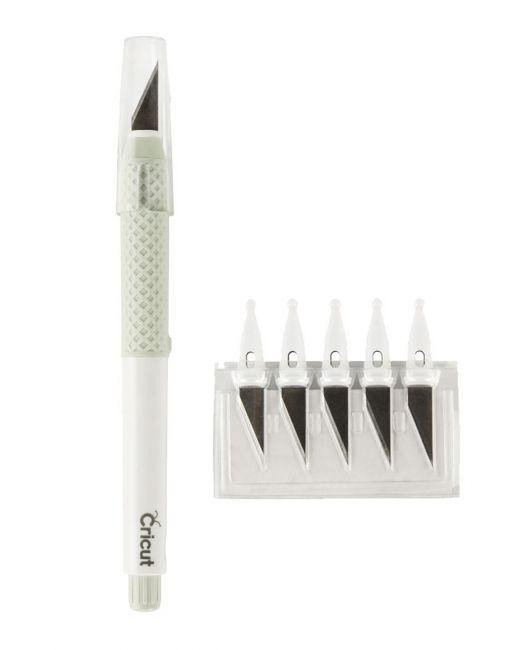
Appropriate Blades – You can always purchase additional blades such as the engraving tool, scoring wheels, rotary blade for fabric etc.
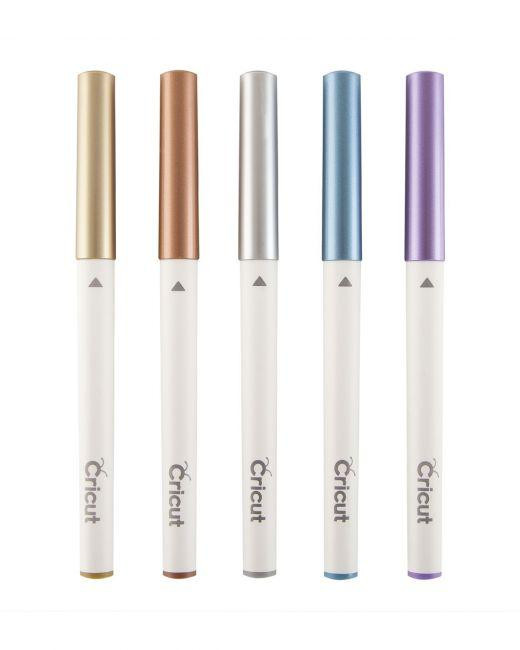
Pens and Markers – You can also write with Cricut. Get Cricut pens or markers to draw intricate designs or write on your paper projects.
Step by Step Tutorial for Making Your First Cricut Project:
Step 1: Unbox and Setup
Take your new Cricut cutting machine out of the box and keep it in a place where there’s plenty of room to work on your creative endeavours. Plug it in near your computer. Sign up for a Cricut ID account, download the Cricut Design Space app and install it on your PC.
Step 2: Upload a Design
Next up, choose a design in Cricut Design Space. You can opt from a range of available pre-made designs, or you can also upload your own custom design. Select ‘New Project’, click ‘Upload’. Drag and drop your file or click ‘Browse’ to select your file from the system. Add a name and click on ‘Save’. Now your file is ready to use.
Step 3: Add the Design into Your Project
To insert the uploaded image into your project, check the ‘Recently Uploaded’ section and add the desired file to your project. Click on ‘Insert Images’ button to add the file to your project.
Step 4: Adjust and Size
The next step involves sizing your design. Use the Size options in the toolbar to adjust the image to the desired size or you can use the blue arrow found on the bottom right corner of the image to manually resize.
Step 5: Select Your Cutting Material
Select your cutting material and place it on the cutting mat. The mat will hold the cutting material in place. Press the button to load the material into the Cricut cutting machine.
Step 6: Cutting Prep
Now, it’s time for the fun part – cutting! Go back to Design Space. Cross-check your design to see if everything looks good. Click on ‘Make It’. Now, choose the material from the options on the screen. Let’s say you’ve loaded vinyl into your machine, then select ‘Vinyl’ and send the design to the machine for cutting. Ensure the correct blade is loaded into the machine.
Step 7: It’s Go Time
Press the flashing button on your Cricut machine to commence the cutting process and let the machine work its magic.
Step 8: Unload and Go
Once the machine finishes cutting the material, it whirs to a stop. Remove the mat from the machine, and safely take out the cut material from the mat. That’s it, you’ve just cut your first design on Cricut.
Now you can use your design to your crafting projects and explore a fun array of possibilities that you never thought were possible. Here are some of the various craft projects you can execute:
- Personalized greeting cards
- Iron-on Tshirts
- Paper banners
- Party décor
- Custom stickers
- Mug monograms
- Vinyl decals for wall
- Stencils
- Custom wooden sign
- Address envelopes
- Labels
And more
Get started on an incredible journey of exploration and creation with your Cricut cutting machine today!
Source: https://www.homesmiths.ae/blog/post/cricut-cutting-machine-step-by-step-tutorial-for-beginners
Comments
Post a Comment